Photographing Insects on the Sheet
The method I use for photographing moths on the sheet includes using a 100mm macro lens with the Canon dual flash MX. I set the camera on manual mode. I use an F-stop of 11 and a shutter speed of 250 with the flash. I also use auto focus.
Note - In 2017 year I switched to a Canon 7D MKII and in 2022I purchased a Canon R7 mirrorless camera.
The reasoning behind the setup is that I am trying to get the best depth of field I can. Depth of field is the space on either side of the subject that is in focus. The greater the depth of field, the more of the subject that is in focus. When you are shooting macro pictures at a few inches, the depth of field is about 1/32 inch, maybe. With the newer, higher pixel sensors on the digital cameras, I recommend that people not get so close to the subject. All other things being fixed (shutter speed and F-stop), the distance to the subject comes into play. The depth of field decreases as you get closer to the subject. I recommend that the subject only fill about half of the frame. Most people will crop their photos and pick a size based on what they plan to do with the photo. By not getting too close, you are helping with the depth of field.
Also try to keep the subject parallel to the camera sensor. This can be hard when you are laying down on the ground and the moth is about a 1/8 inch size. Also a suggestion I received from a fellow photographer, was to focus on the sheet next to the really tiny moths. This tends to keep a constant focus. With auto focus, the camera will try to keep up with movements of the sheet.
Photographing Pinned Specimens
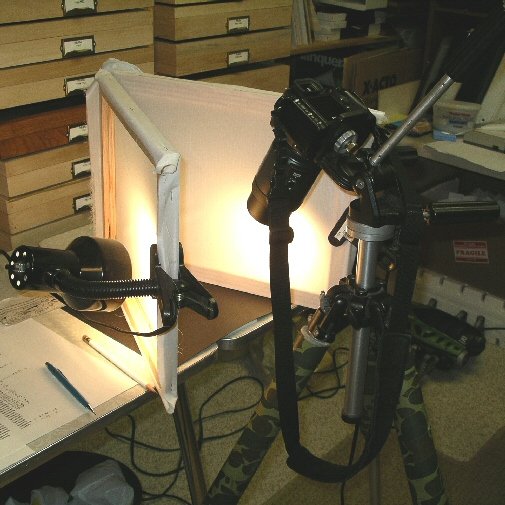
For photographing pinned specimens, I have gone through the following methods but currently use the copy stand to hold the camera.
---


 |
 |
 |
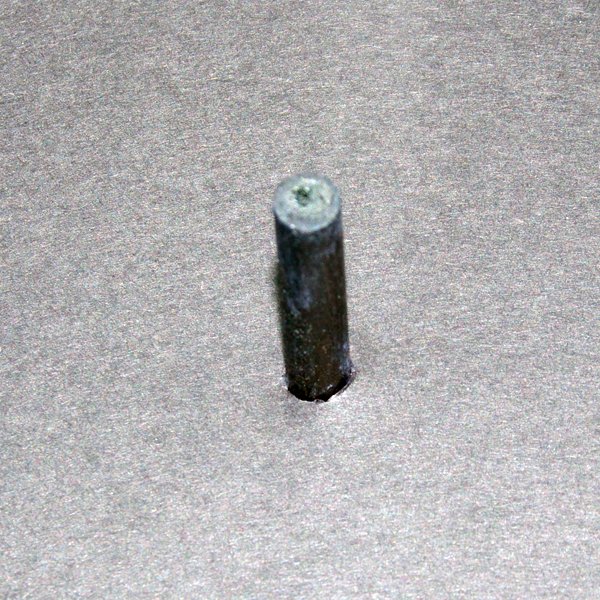 |
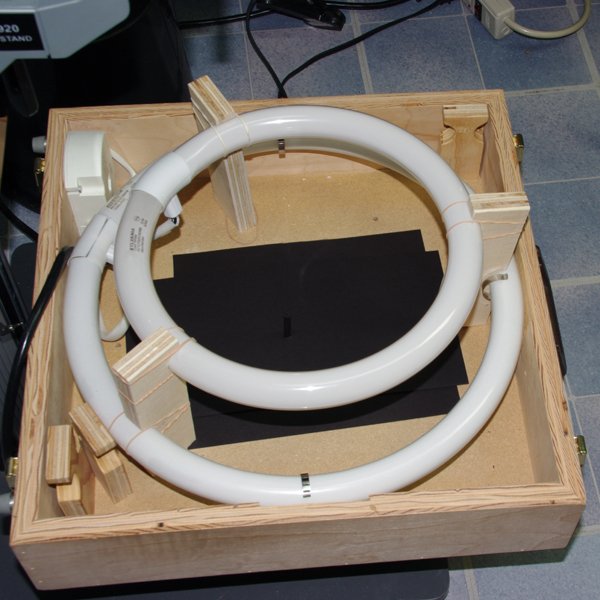
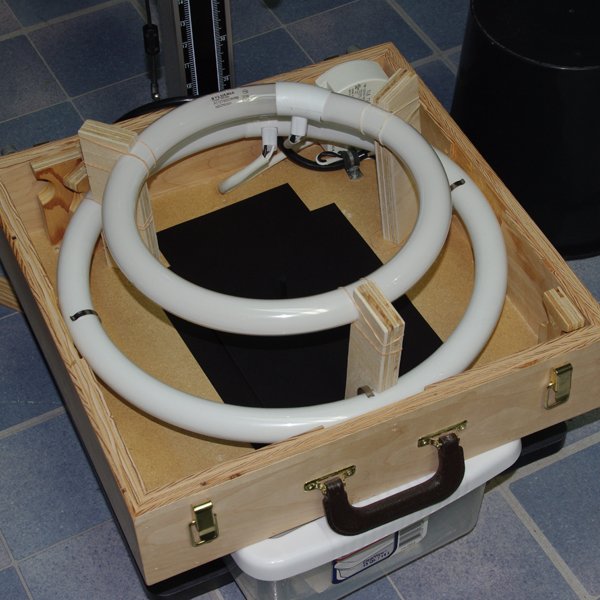
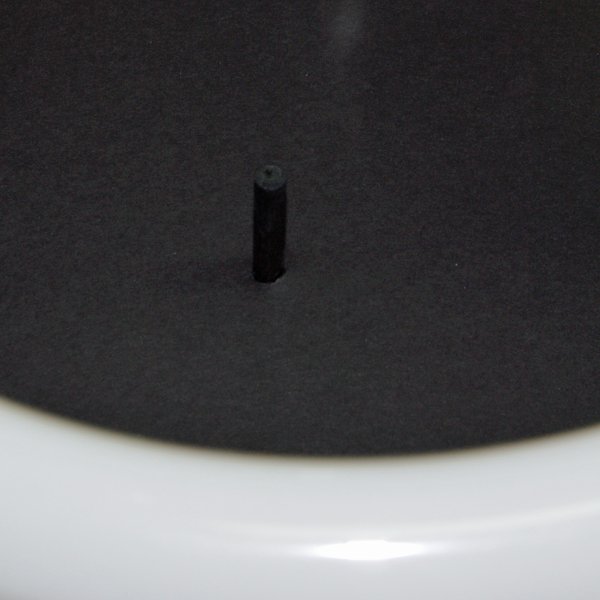
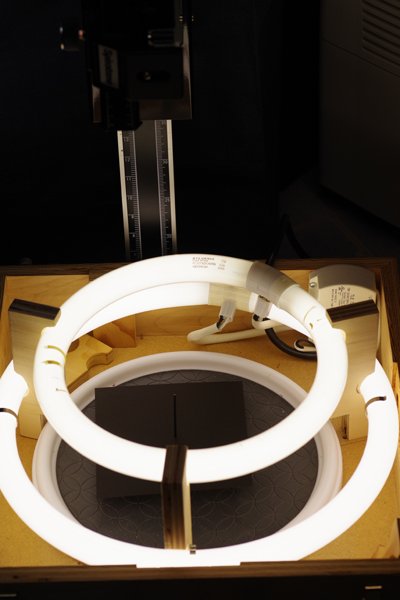
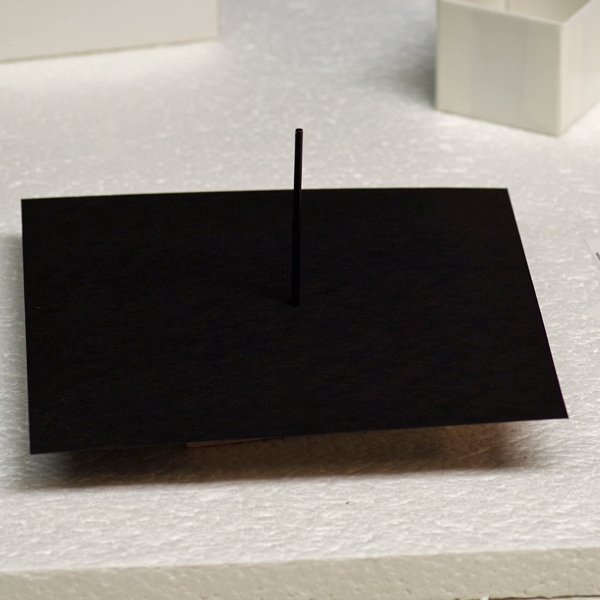
The above pictures show the latest modification to my setup. Based upon a suggestion from Jim Vargo (Moth Photographer Group), I raised the smaller bulb three inches which gives more even light while also being brighter on the specimen. I also took a quarter inch wooden dowel, cut to two inches, drilled out the center, added black modeling clay, and attached the dowel to a small wooden piece. I colored the dowel black with a magic marker. The dowel is then inserted through the black background paper. This raises the specimen about three inches from the paper. This causes the background of the photo to be more out of focus and not distracting. This also solves the problem I had with bigger specimens where I had to remove the smaller bulb to get rid of the halo.
I have the original spacers for the bulbs which allows me to lower the small bulb and put the lid on the box for traveling.
 |
 |
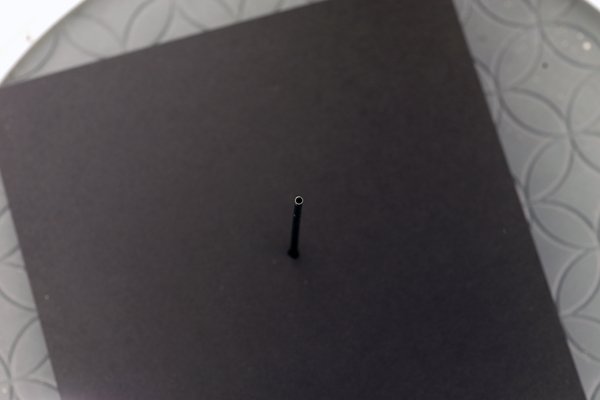 |
I made a mod to the above method after finding some ink refills for a small ink pen. The refills are about 3 inches long. I mounted the refills into a wooden block about 3 inch square. I painted the refills black. I put a piece of black paper around the refill. The refill is smaller than the wooden dowel I had used. It turns out the inside of the refill is large enough for the round part of the insect pins to fit. This allows me to turn the specimen over and photograph the underside. The underside can be helpful for identification in some insects. I also found a lazy susan and have it in the bottom of the setup. This allows me to position the insect without touching the insect. I do this to square up the specimen when photographing.
I use a 100 mm macro lens and add a 1.4x adapter for the really little micros. For exposure, I shoot at F8 and 1/20 sec. When I get to specimens that are about 2 inches or bigger, then I have to go to my 35 - 105 mm lens. Another thing that I do is photograph the specimen with the wings spread vertical. This insures that when I take the picture, I can crop the image 6 x 6 at 100 dpi to put on the website. Some people zoom in close and then you can only crop with a rectangle.
When I photograph mounted specimens, I use mirror lockup mode on the camera. When photographing tiny specimens, this allows the vibration setup by the mirror flipping out of the way to soften, and then the camera takes the photo. I was having a problem that photos of the micros were out of focus and finally remembered that the mirror creates vibration when it moves out of the way. Using the mirror up mode eliminated the problem.
 |
This is my current method of photographing specimens. I purchased a copy stand and mounted the camera to the stand. I started with the lazy susan from the previous method but needed a way to tilt some specimens that were not mounted properly. I purchased a tripod head and mounted it to the board that fits into the lazy susan and then mounted a round board with the ink refill in it to the tripod quick disconnect. I have round paper in a couple colors that I use as background. I started with the flashes mounted on the camera with a bracket but decide to mount the flashes separate from the camera so the light would be the same on the subject even if I move the camera up or down to focus.
With this method I use a shutter speed of 1/250 which is the camera sync speed for flash. I shoot with the camera attached to the computer so I can rename the photos to the specimen number as I take the pictures. The flashers are set to Manual mode and at 1/32 with the zoom set to 35mm. I set the F stop to F10 and this gives me good depth of field. Also set the camera to flash instead of automatic white balance. This gives better color rendition than automatic. In some cases you can not tell the difference but with brown , I have found it gives a better color rendition.
I like this setup as I do not have the yellowish photos that I got when using the round florescent tubes for light.